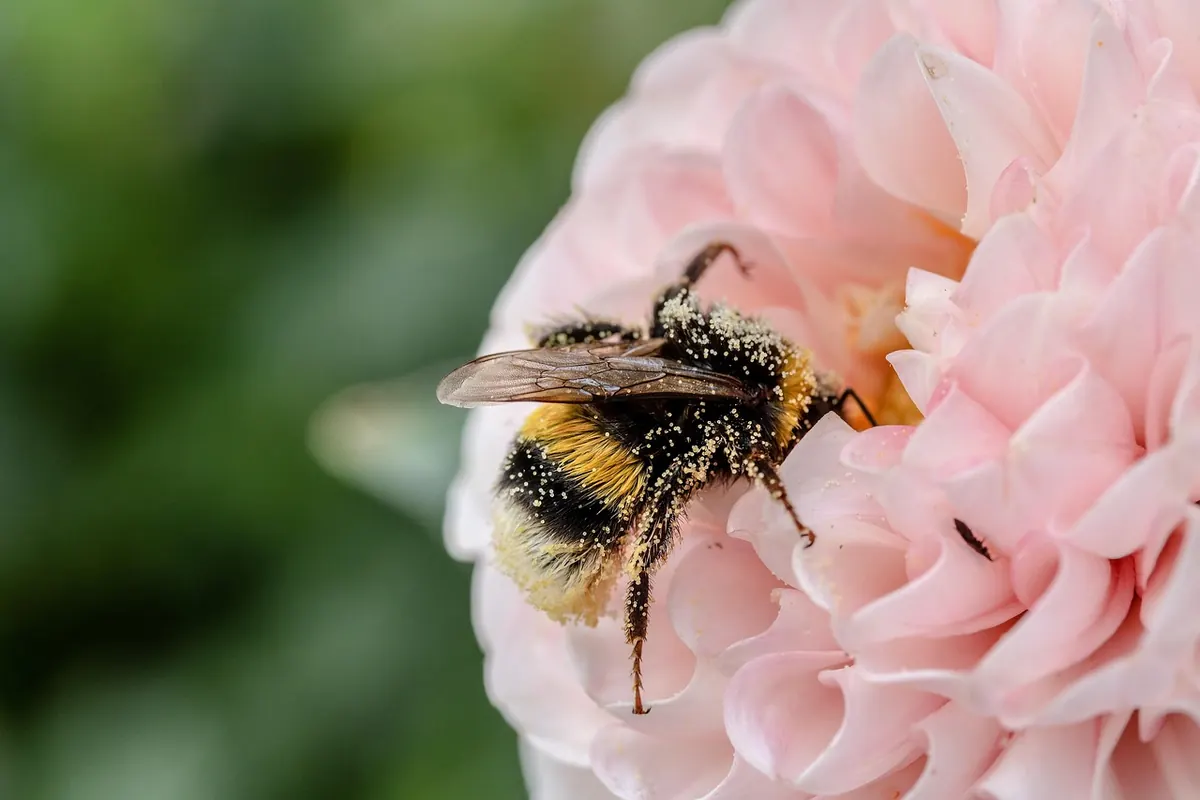
The best macro studio most of us will ever have is about twenty steps from the kettle. A single nasturtium leaf can hold a whole afternoon's work: water beads, the shadowed ridges of its veins, a greenfly colony underneath and a hoverfly patrolling above. No travel, no hide, no four-in-the-morning start required. You need a garden, a tolerance for kneeling on damp ground, and a bit of technique. Here is how to make small things look on screen the way they look when you crouch down beside them.
Strictly speaking, macro means projecting a subject onto the sensor at life size or larger — a ratio of 1:1 or more. In practice, most of what you will enjoy is better described as close-up work: a bee filling half the frame, frost crystals along a seed head, the spiral of a snail shell. That distinction matters less than you think. What matters is magnification, sharpness and light.
A garden beats a nature reserve for one simple reason: you can go back. A patch of Welsh poppies you walk past every morning becomes a known quantity. You learn which bud opens first, which leaf the aphids favour, where the hoverflies hold territory in the afternoon sun. That repeated contact is what turns a lucky shot into a body of work. You also control the light, the background and the wind shelter, which is more than most field photographers can claim.
A dedicated macro lens is lovely, but it is not the entry fee. Extension tubes fit between your camera and any lens and shorten its minimum focus distance for very little money. Close-up dioptre filters screw onto the front of a lens and do much the same job. Many compacts focus closer than their owners realise, and a phone with a clip-on close-up lens will happily record a ladybird's wing cases.
Keep the kit small enough to carry in one hand. Fiddling with gear in a flowerbed is how insects escape.
Skip the tidy borders at first. The productive places are the scruffy ones: long grass at the base of a wall, moss on the rim of a pot, the damp shade under a shrub, a heap of prunings left to rot. Turn over a leaf and you will often find more than on the flower above it. Seed heads and decaying wood are excellent in autumn and winter, when insects are scarce but texture is everywhere.
Timing does most of the heavy lifting. Early morning is the classic window: dew sits undisturbed, and cold-blooded subjects are too sluggish to flee. Overcast days are even better, because the light is soft and the air is usually calmer. Go out after rain if you can, and avoid breezy afternoons unless you enjoy chasing focus.
At high magnification, depth of field collapses to a sliver — sometimes a few millimetres. Three things follow from that. First, stop the lens down: f/8 to f/16 is a sensible range, though going much beyond f/16 costs you sharpness to diffraction on most cameras. Second, choose your point of focus deliberately. On insects, it is the eye, every time. On flowers, it is usually the nearest stamen or the leading edge of a petal.
Third, accept that autofocus will struggle. Switch to manual and rock gently forwards and backwards until the detail snaps into place, using your screen's magnification to check. For flat subjects — a leaf, a coin, a butterfly wing — get the sensor parallel to the surface and the whole thing comes sharp at once.
Plant your feet, tuck your elbows into your ribs, and rest the camera on your left hand while your right thumb works the shutter. Breathe out slowly and press as your chest settles. If your camera has a silent or electronic shutter, use it; vibration is the enemy. And if the subject is still, use a tripod and a two-second timer instead of pretending your hands are steadier than they are.
Harsh midday sun creates blown highlights on glossy leaves and brutal shadows in a flower's throat. Diffuse it. A sheet of tracing paper held between sun and subject, or a diffused flash, gives you the soft, even light that reveals texture.
Backlighting is worth chasing. Put the sun behind a hairy leaf or a dandelion clock and you get a glowing rim that makes the subject lift off the background. A white card on the shadow side bounces light back in; a black card behind the subject kills a busy background entirely. Watch the corners of your frame — a stray bright stem will pull the eye away from the thing you care about.
Fill the frame when the subject deserves it. A fly's compound eye at full magnification is a landscape. But also step back sometimes and show the setting: the bee on the lavender, the whole seed head, the leaf with the hole in it. Both approaches are valid, and the second one tells the reader something the first cannot.
Leave space in front of a creature's gaze so it appears to have somewhere to go. Shoot at eye level with your subject rather than down at it — that means lying on the path, and yes, people will look. Check the edges of the frame before you press the shutter, since a half-cut petal at the border looks like an accident rather than a decision.
Go out on a still, dull morning with one lens and no plan. Walk slowly and look at the underside of leaves, not the tops. Choose one subject and give it fifteen minutes instead of two. Take three versions: a wide one for context, a medium one, and a tight one on the detail that caught your eye.
Then stop, sit down and look at the images on the back of the camera. You will spot the missed focus and the distracting background far more easily away from the subject. Note which plant you were at and come back tomorrow — the same stem, in different light, at a different hour, is a genuinely different photograph. Gear can wait. Returning is what makes the pictures better.
Photo: Myriams-Fotos / Pixabay
Most figure-painting problems start before the brush touches the model. Here are the priming, base coating and...

Turn pinecones, twigs and dried orange slices into tree ornaments, garlands and wreaths, with clear drying methods,...
Learn how to date antique maps by examining paper, printing methods, imprints, geographic clues, colour and...

Explore hobbies in the Cotswolds.
