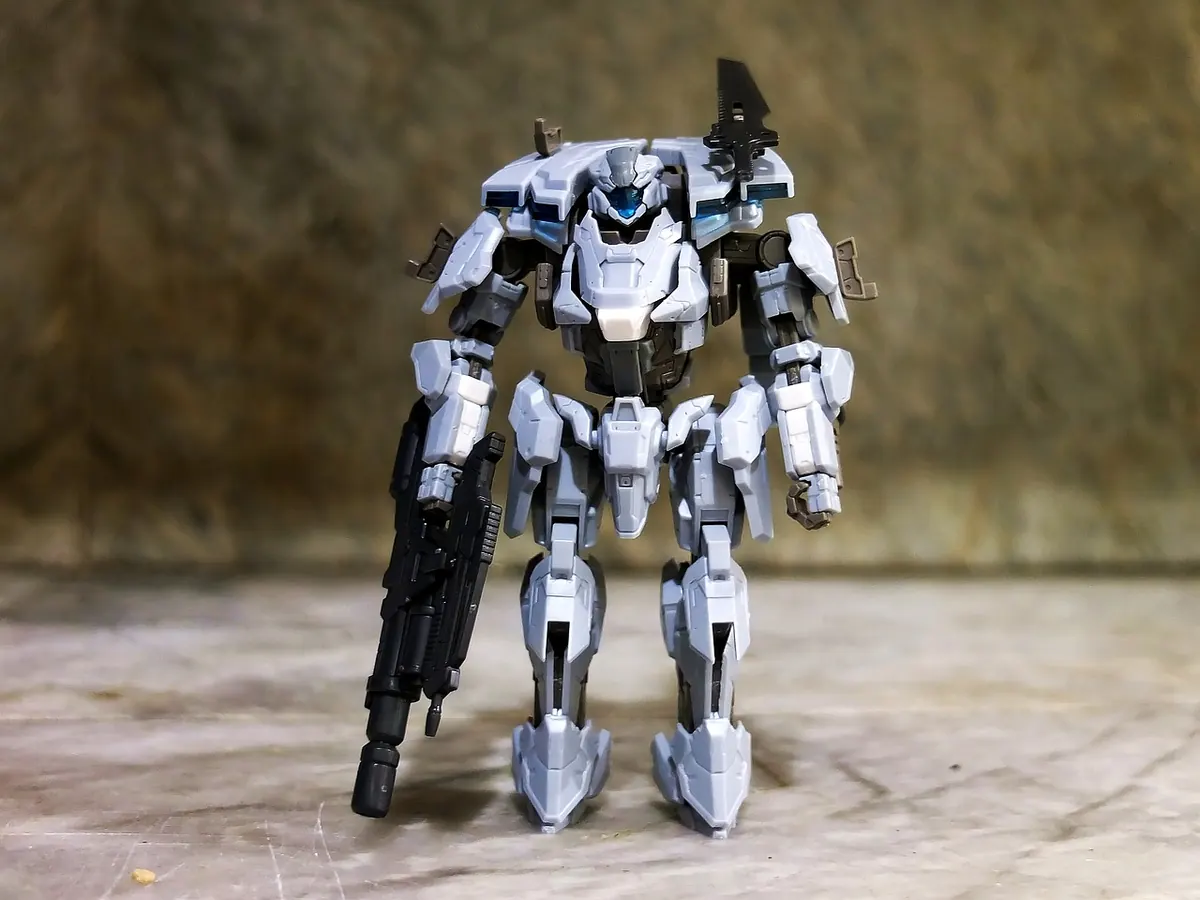
Every painter ends up with a shelf of figures that quietly embarrass them. A face gone chalky and grey. A cloak that lost its folds because the primer went on like pancake batter. A pair of eyes that turned into a squint because the whites were painted last. The encouraging part is that almost none of these are talent problems. They are order-of-operations problems, and they repeat in predictable places: preparation, primer, base coat, and the detail passes.
This is a list of the traps I see most often, roughly in the order you will meet them.
Priming is the cheapest stage and the most consequential. Everything you paint afterwards sits on top of it, so a grainy or gloppy undercoat will haunt every layer above.
Start with the model itself. Many metal and resin castings carry a thin film of mould release agent, and skin oils from handling do the rest. A few minutes with warm water, a drop of washing-up liquid, and a soft toothbrush makes a real difference to how paint grips. Let it dry completely before spraying.
Then the primer coat. These are the usual failures:
Prime a small test piece if the model is important. It costs nothing and it tells you whether the can is behaving.
Thick paint is the single most common cause of a figure that looks like it was carved from soap. It fills in the detail the sculptor worked for, and it dries with visible ridges and brush marks.
Straight from the pot is rarely right for anything except a deliberate texture effect. Skin, cloth, and small armour panels want paint thinned to roughly the consistency of milk, applied in several passes. Two or three thin coats give smooth coverage. One thick coat gives a lump.
Paint thinned past the point of control will pool and run, especially into folds and crevices. Annoying, but fixable: wick the excess off the brush on a paper towel and let the layer dry before you judge it. Wet paint looks shinier and more opaque than it will be in ten minutes, and it is very easy to add a layer you did not need.
A wet palette helps here. It keeps a working mix alive for an hour instead of five minutes, so you stop remixing and start building up thin, consistent layers.
The base coat sets the value range for everything that follows. Two mistakes dominate.
The first is trying to cover in one hit. If a red base coat takes five coats to cover black primer, you are fighting the primer, not painting the figure. Choose a primer that suits the dominant colour — grey or white under light palettes, black under dark or metallic schemes — and work in thin layers.
The second is painting details before the big shapes are settled. It feels productive to pick out a belt or an eye while the mood is high, but you will repaint it twice as soon as the surrounding cloth changes. Get the whole figure to a consistent, tidy base state first. Then the details sit on a calm foundation rather than a patchwork.
Detail work rewards patience and punishes enthusiasm. A few recurring habits slow everyone down:
Painting a fully assembled figure with arms crossed over the chest is a self-imposed penalty. Where a kit allows it, paint in sub-assemblies — body, head, arms, any large item held in front — and glue at the end. Clean mould lines and gaps during assembly, because they are far harder to reach once the figure is built and far more obvious once it is painted.
Handling does the rest. Bare fingers leave oil that lifts paint. Mount the figure on a handle, a cork, or a spare base with a blob of putty, and hold the mount rather than the model. It is a small habit that saves a lot of touching up.
A varnish coat is a protective layer, not a finish line. Matte varnish sprayed in damp conditions can frost the whole figure, so check the weather and spray light passes. Too many coats build up and dull the crispness of your highlights. Once finished, store figures so they are not rubbing against each other; foam trays or a magnetic case will do more for your paint job than any final touch-up.
Wash the parts, clean the mould lines, prime in two thin passes and let it cure. Work in sub-assemblies where you can. Thin your paints, build colour in layers, and finish the large shapes before the small ones. Handle the figure by its mount. Then varnish lightly and put it away properly.
None of this is glamorous, and that is the point. Speed in this hobby comes from not having to fix things, and the painters whose figures look effortless are usually just the ones who stopped skipping step one.
Photo: vinsky2002 / Pixabay

Turn pinecones, twigs and dried orange slices into tree ornaments, garlands and wreaths, with clear drying methods,...
Learn how to date antique maps by examining paper, printing methods, imprints, geographic clues, colour and...
A practical guide to garden macro photography with basic gear — finding subjects, holding focus, shaping light and...

Explore hobbies in the Cotswolds.
