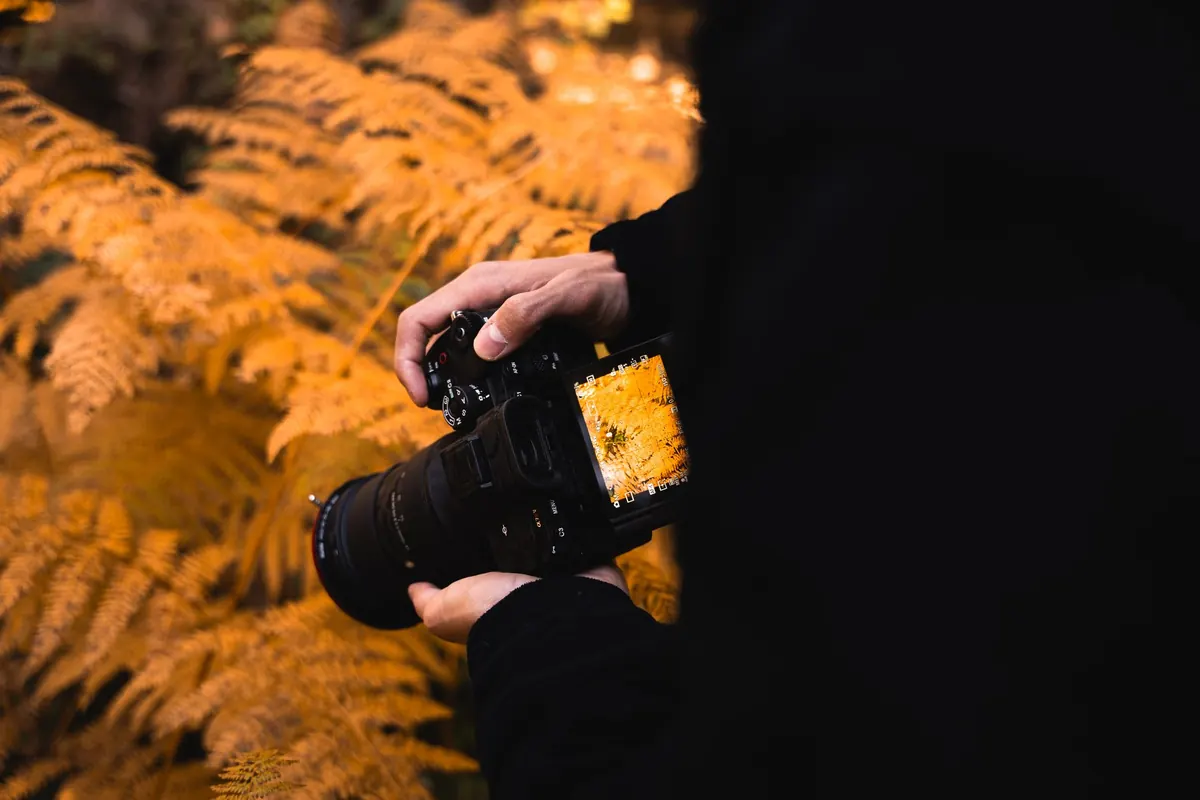
Landscape photography has a way of humbling anyone who tries it. You drive an hour to a spot you have seen in a hundred photographs, the light looks promising, and you come home with a file that is somehow both dull and blown out. There is no mystery to it. The same handful of mistakes turn up in almost everyone's early work, and a few of them survive for years behind otherwise sound technique. Here are the ones worth fixing first, roughly in the order they tend to matter.
Midday sun is the usual culprit. It flattens distant hills into grey haze, carves hard shadows across fields and strips the colour out of everything. The fix is not complicated, just inconvenient: be on location for the hour after sunrise and the hour before sunset, and give yourself at least forty minutes of buffer, because the best light often arrives before you think it will.
Overcast days are also underestimated. Cloud acts as a giant softbox, which is ideal for woodland, streams, waterfalls and detail shots. What does not work is a blank white sky above a dull field — the camera has no way to make that interesting, and neither does the software.
If you only have a free lunch hour, shoot small rather than wide. Rock textures, moss on a wall, leaves against a shaded background and gorge interiors all suit harsh light, because the contrast is contained inside the frame instead of stretching from sky to soil.
A horizon running through the middle of the frame is the most common compositional tell of a beginner, and it usually means the photographer never decided what the picture was about. Ask yourself which half is stronger. Sky full of drama? Drop the horizon to the lower third. Interesting foreground? Lift it higher. Two-thirds to one-third is a habit worth forming.
Then level it. Most cameras have an electronic level you can switch on in live view, and it takes half a second to check. A tilt of two degrees is enough to make a good photograph feel careless, and it is fiddly to correct later without losing edges.
Beginners tend to plant the tripod where they first saw the view and shoot. Walk twenty paces left. Crouch. Try portrait orientation, which often suits a single tree or a vertical waterfall far better than landscape format. Look for distracting mergers — a fence post sprouting from a rock, a branch crossing the skyline, a horizon cutting through a distant church tower. Small shifts in position remove them.
A wide view with nothing in the front of the frame reads as empty, no matter how spectacular the view was in person. The eye needs an entry point: a boulder, a path, a stream, tussocks of grass, a puddle. Get lower than feels natural — knee height or closer to the ground — and step forward until the foreground element is larger than you expected. It will look wrong through the viewfinder and right in the final image.
The sky can be many stops brighter than the land, and no camera sensor handles that range without help. A white, detail-free sky is the single hardest thing to rescue in editing, so protect it while you are there.
Soft images are rarely a lens problem. They are usually one of these:
Landscape editing goes wrong in the same three ways: skies pulled down until they turn grey and patchy, shadows lifted so far that noise appears in the foreground, and saturation pushed until grass glows. Heavy-handed HDR leaves halos along every horizon. Heavy clarity leaves a brittle, crunching texture in the foliage.
A simple discipline helps: do your edits, then step away for ten minutes and look again. Compare the result with the original. If the difference shouts, pull it back by half. Work in layers, keep the camera raw file untouched, and resist replacing the sky unless the picture genuinely needs it — most do not.
Before you set the bag down, walk the scene for five minutes without the camera. Decide what the photograph is actually about. Then set up, compose for the strongest element, check the level, and confirm your aperture and shutter speed. Shoot one frame, zoom in to 100 per cent on the screen, and check focus where it matters most. If it holds, take a bracket, then try one more composition before you leave — the second idea is often better than the first.
Print your best two or three images a year. A print on a wall exposes weak composition and sloppy exposure far more honestly than a screen ever will.
None of this requires better equipment. It requires arriving earlier, getting lower, checking the histogram and being willing to move. Do those things consistently and the difference in your photographs will show up within a month.
Photo: İslam Abruev / Pexels
Most figure-painting problems start before the brush touches the model. Here are the priming, base coating and...

Turn pinecones, twigs and dried orange slices into tree ornaments, garlands and wreaths, with clear drying methods,...
Learn how to date antique maps by examining paper, printing methods, imprints, geographic clues, colour and...


Explore hobbies in the Cotswolds.
