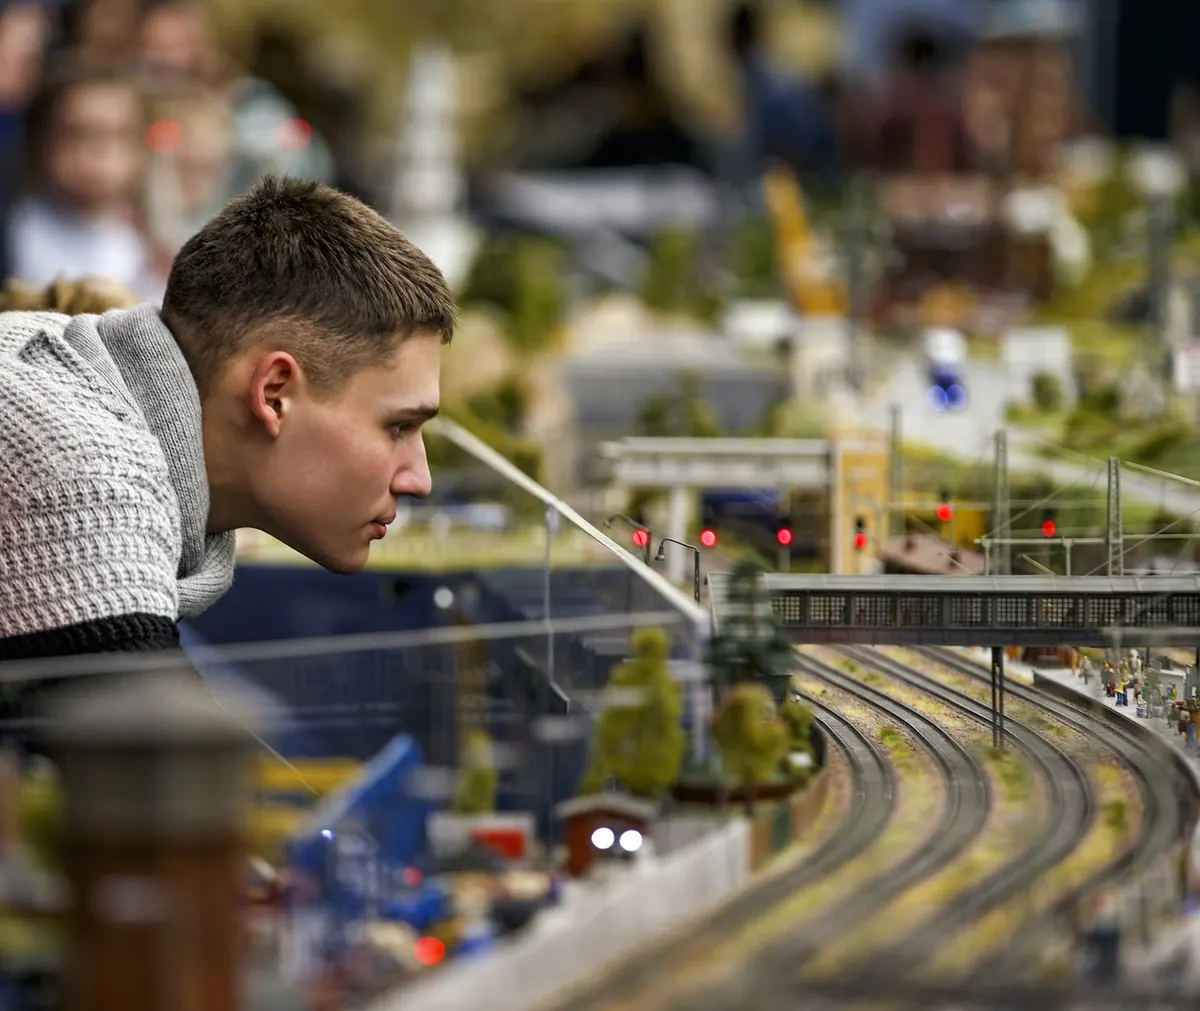
A model railway does not need a garage, a spare bedroom or an unusually tolerant household. It needs a plan that respects the space you actually have. Some of the most satisfying layouts ever built are little more than a shelf, a couple of sidings and a goods yard, and they get operated far more often than the twelve-foot masterpiece in the loft that never quite gets finished. Decide first what you want from the hobby. If you want to watch trains run, you need a continuous circuit. If you want to shunt wagons and build scenery, a short end-to-end line will give you more railway per square foot.
Scale decides almost everything else. N gauge (1:148 in Britain, 1:160 elsewhere) gives you roughly half the footprint of OO for the same track plan, which is why it dominates small-space modelling. The trade-off is smaller detail, fiddlier couplings and less presence on the shelf.
OO gauge (1:76) has by far the widest choice of British ready-to-run models, but it needs room for curves. Long coaches on tight radius track look wrong and derail at the first opportunity. OO9 and similar narrow-gauge scales run on 9mm track, so they turn in a fraction of the space and suit a micro layout beautifully.
As a rough guide, a convincing continuous run in OO wants something like six feet by three feet. N gauge will do comparable work in about half that. If your available surface is a shelf twelve inches deep, be honest with yourself: a shunting plank in OO or a small terminus in N is the realistic target.
Not every space wants a loop. Match the plan to the architecture rather than forcing a rectangle into a corner.
Draw the plan full size on lining paper, or use one of the free track-planning programs and print it at 1:1. Cut cardboard templates of your points and place them physically on the board. It is far easier to move a piece of card than to lift track that has been ballasted.
Keep curves as generous as the space allows. In OO, anything tighter than roughly eighteen inches radius will look cramped and cause trouble with longer stock; N gauge copes with much less, but still runs better above nine inches. Leave at least one coach length of straight between reverse curves, or you will get buffer lock and derailments every session.
Resist the urge to fill the board with track. Two-thirds scenery to one-third railway is a decent balance, and it is the scenery that makes a small layout feel bigger than it is. For hidden storage, a cassette, traverser or sector plate takes a fraction of the depth of a conventional fiddle yard and does the same job.
Light and rigid beats heavy and thick. A 6mm or 9mm plywood top on a softwood frame is strong enough for most layouts and light enough to lift off the wall when the room is needed. Where the scenery drops below track level, use an open frame with risers instead of a solid top; a valley or a river bed adds depth without adding weight.
Keep the board shallow. Twelve to eighteen inches of depth handles most shelf and shunting layouts comfortably. Fix it to wall brackets, or hinge it to a batten so it swings up out of the way. Seal the underside with paint, particularly in a shed or garage, because damp air warps plywood from below while the top looks perfectly fine.
A backscene does more for a small layout than any other single feature. Curve it gently into the corners rather than leaving a hard right angle, and keep it plain: a soft sky, a distant treeline, a suggestion of hills. Buildings against the back wall should be low relief, cut in half and only an inch or two deep.
Add layers. A bridge crossing the line, a row of trees behind a fence, a slightly smaller-scale building at the far end: each one pushes the horizon back and disguises how little room there really is. Fit a simple LED strip above the layout with a valance to shade it, and site the track around chest height if you will mostly be standing to operate.
For a shunting plank, ordinary DC control is perfectly adequate: one controller, a handful of isolating sections and a couple of switches. DCC costs more per locomotive but makes small layouts feel busier, since several trains can sit on the same track and move independently.
Whichever you choose, run a pair of bus wires under the board and drop short feeders up to the rails every few feet. Colour-code the wires, keep the joints soldered rather than relying on rail joiners, and test each section as you lay it. Fault-finding on a finished layout is tedious; fault-finding on a bare board takes minutes.
Cover the layout with a lightweight cloth rather than plastic, which traps condensation. If children or pets share the room, put a clear acrylic screen along the front edge, or build the railway high enough to be out of reach. Keep the most delicate scenery at the back and use robust materials near the operating position.
If the layout has to be stored, split it into no more than two boards, align them with pattern-makers' dowels and hold them together with over-centre latches. Mark the rail joints so they line up every time.
The single best decision you can make in a small space is to build something small enough to complete. A four-foot shunting plank with one point and a siding will teach you ballasting, wiring, painting and weathering at a pace that stays enjoyable. Finish it, run it, and live with it for a few months.
By then you will know exactly what you want from a bigger layout, what you would do differently, and how much space the household will genuinely tolerate. Extend the plank, add a cassette at one end, or start again with everything you have learned. Compact modelling rewards patience and planning far more than it rewards budget, and a finished small layout always beats an unfinished large one.
Photo: VViktor / Pixabay

Most figure-painting problems start before the brush touches the model. Here are the priming, base coating and...

Turn pinecones, twigs and dried orange slices into tree ornaments, garlands and wreaths, with clear drying methods,...

Learn how to date antique maps by examining paper, printing methods, imprints, geographic clues, colour and...


Explore hobbies in the Cotswolds.
